
If you own an iPhone, or any mobile phones that allows USB charging, MintyBoost maybe just the extra power pack you'll need if you are constantly on the go and your existing phone battery drains out before you can get to the electrical outlet.
I ordered this kit for USD19.90 from Adafruit Industries. It has everything except the batteries, container, which unfortunately, is hard to get at the moment because Wrigley's, the manufacturer of the Altoids gum has decided to discontinue this product. While the kit is designed to fit in nicely in the Altoids gum tin, it can still be installed in other containers. I got mine from a local Daiso store (Japanese variety store). It's slightly larger than the gum tin, but I think it'll be great as I can use the extra space to store a short cable.
To build the kit, you will need to have some basic electronic tools, and skills of course. The process of building the kit is layout in detailed here. You will not go wrong if you follow the instructions step by step.
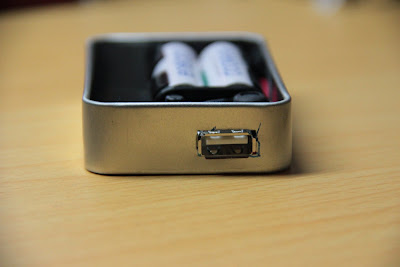
The final product (with my version of tin anyways):
 Note that my tin does not have the hinged lid. I wished it did though so I won't accidentally misplace the lid. Anyways, considering that this is the only container I could find, it will have to do.
 These Eneloop batteries gives roughly about 60% charge. That means that if my phone's battery level falls to about 40-50%, I can get it to 100% with a pair of these batteries. Different batteries will give different results, but the general rule is the higher the mAh, the higher the capacity it can charge.
 The opening for the port was done by drilling the tin first, and then using a small file, I filed the edges till I have the shape of the plug. I'm guessing if I had a dremel tool, the results would be better. What do you think?
 Here's how it looks like with the lid closed.
 Another view.


